

Map controls and gestures
Use the bottom bar, inspect a spot, and center the map on your location.
The bottom bar changes tools for Explore, Record, and Navigate. Tap a mode at the left end or swipe across the bar to switch. Navigate appears only while you are following something.
Explore and Record
Explore has search, camera, Saved, and layers. Use it to inspect the map and save places.
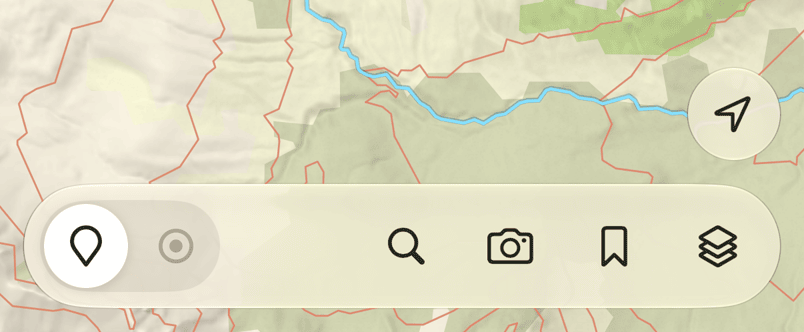
Record has the controls for recording your track. The bar keeps its colored rim while a recording is running or paused, even in another mode. Switching to Explore does not stop recording.
When Navigate appears
Explore and Record are always available. Navigate appears as a third mode only after you start following a route, track, waypoint, or spot. Open the point or line and tap its navigation arrow. Glassing adds Navigate to the bar and selects it.
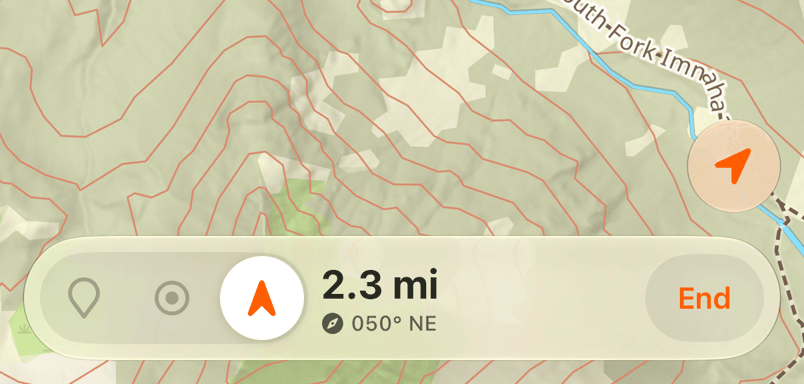
You can switch to Explore or Record while navigation continues. Tap Navigate to return to directions. Tap End there to stop following; the Navigate mode disappears. An active recording keeps running.
See Follow a route or find a spot for animated examples of point and route navigation.
Open and close panels
Tap a tool to open its panel above the bar. Tap the same tool again to close it. Opening another panel replaces the first. Switching modes also closes the open tool panel.
In Explore, tap open ground to inspect a spot. The panel shows the available place, trail, elevation, and land information. Its slope reading includes the direction the hillside faces, such as 32° · NE-facing, even with the Slope overlay off. Nearly flat ground omits the direction. With Cell Coverage on, it also shows reported service once coverage data has loaded. Tapping another spot moves the selection. Nothing is saved until you tap Save.
Long-press open ground to start saving a waypoint. Open-ground taps and long presses work in Explore. Tapping a saved pin or line from Record or Navigate switches to Explore and opens that item's panel.
Find your location
The locate arrow sits above the bottom bar. Tap it once to center on your location and follow with north at the top. Tap again to face the direction you are looking. A third tap returns to north-up.
Dragging the map stops following your location. Tap locate to follow again. A dim locate button means the phone has no current position.
Copy a location
Tap a displayed coordinate to copy it. Tap the heading ribbon at the top to copy your current location. Paste it into a message or another app. See Share coordinates with Garmin inReach for the full workflow.
Adjust the controls
Tap the Glassing logo, then Settings. Left-handed moves the bottom tools to the other side. Always face north prevents manual rotation; turn it off to rotate the map by hand. Show compass controls the heading ribbon at the top. Under Support, Delete diagnostics data erases the crash and energy reports the phone has kept for you; it shows only while there is at least one.
Coordinates display in decimal degrees. Distances use yards and miles; elevations use feet. There is no units or coordinate-format setting.
Need help? Email support.