

Draw and edit a route
Place points, follow trails, and check the elevation profile.
A route is a line you plan to follow. Open Saved in Explore and tap Plan a Route to start drawing.
Draw the line
Tap the map to add points. Each point extends the route. You can also start a route by holding two fingers still on the map; Glassing places a point under each finger.
The magnet makes new sections follow nearby trails. Turn it off to draw straight sections. Changing the magnet affects the next points you add, not sections already drawn.
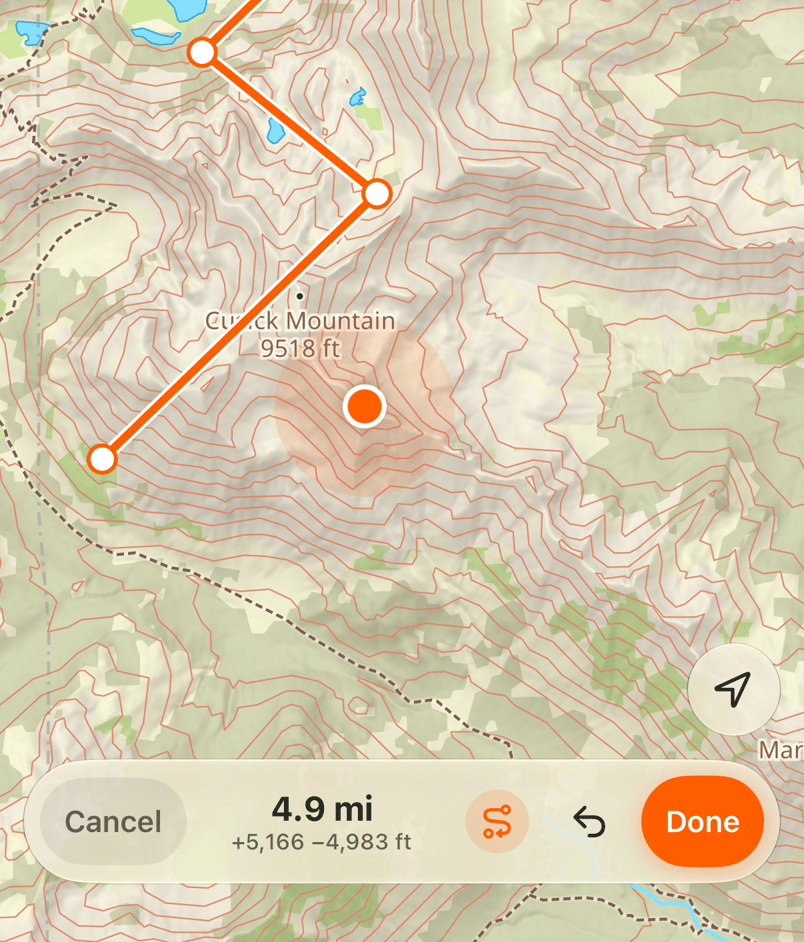
A section stays straight when Glassing cannot connect its points using nearby trails. A straight line is not a checked path. Add points closer to the trail or check the map at a closer zoom.
Change a point
Drag a point to move it. Tap a point to select it, then tap the map to insert another point after it. Delete point removes the selected point. Undo reverses the last edit.
Check and save
The bottom bar shows distance, ascent, and descent. Tap Done once the route has at least two points. Review the elevation profile, add a name or notes, and tap Save.
Drag across the elevation profile to mark the corresponding spot on the map. Gaps in the profile mean terrain data is missing on this device. Download a map covering the route to get its terrain.
Edit or follow a saved route
Tap the route on the map or open it from Saved. Edit route returns to its points. You can also change its name, color, notes, and trip from its panel.
Tap the navigation arrow to follow the route. You can follow a recorded track too, but a track cannot be converted into an editable route.
Need help? Email support.